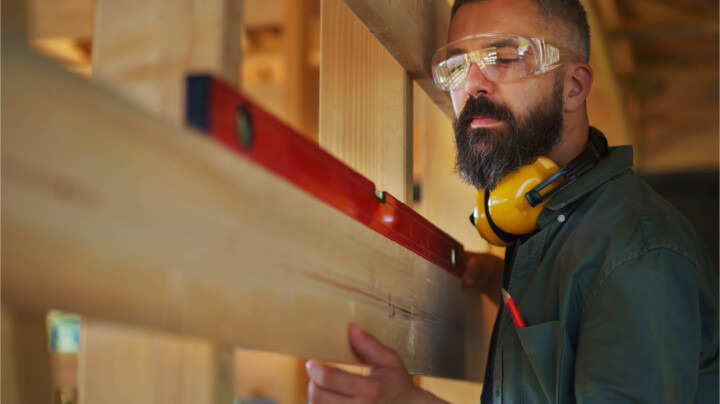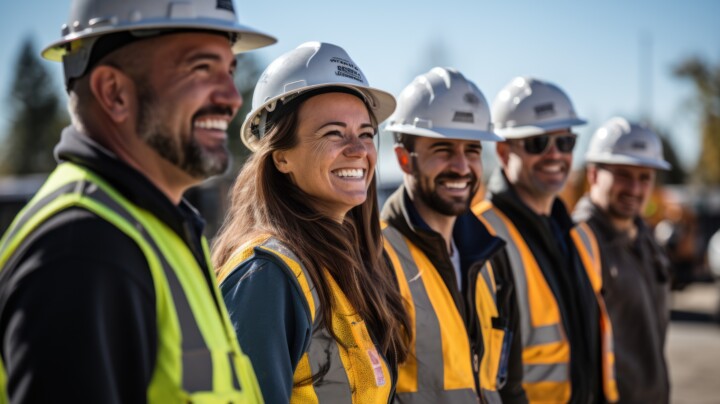
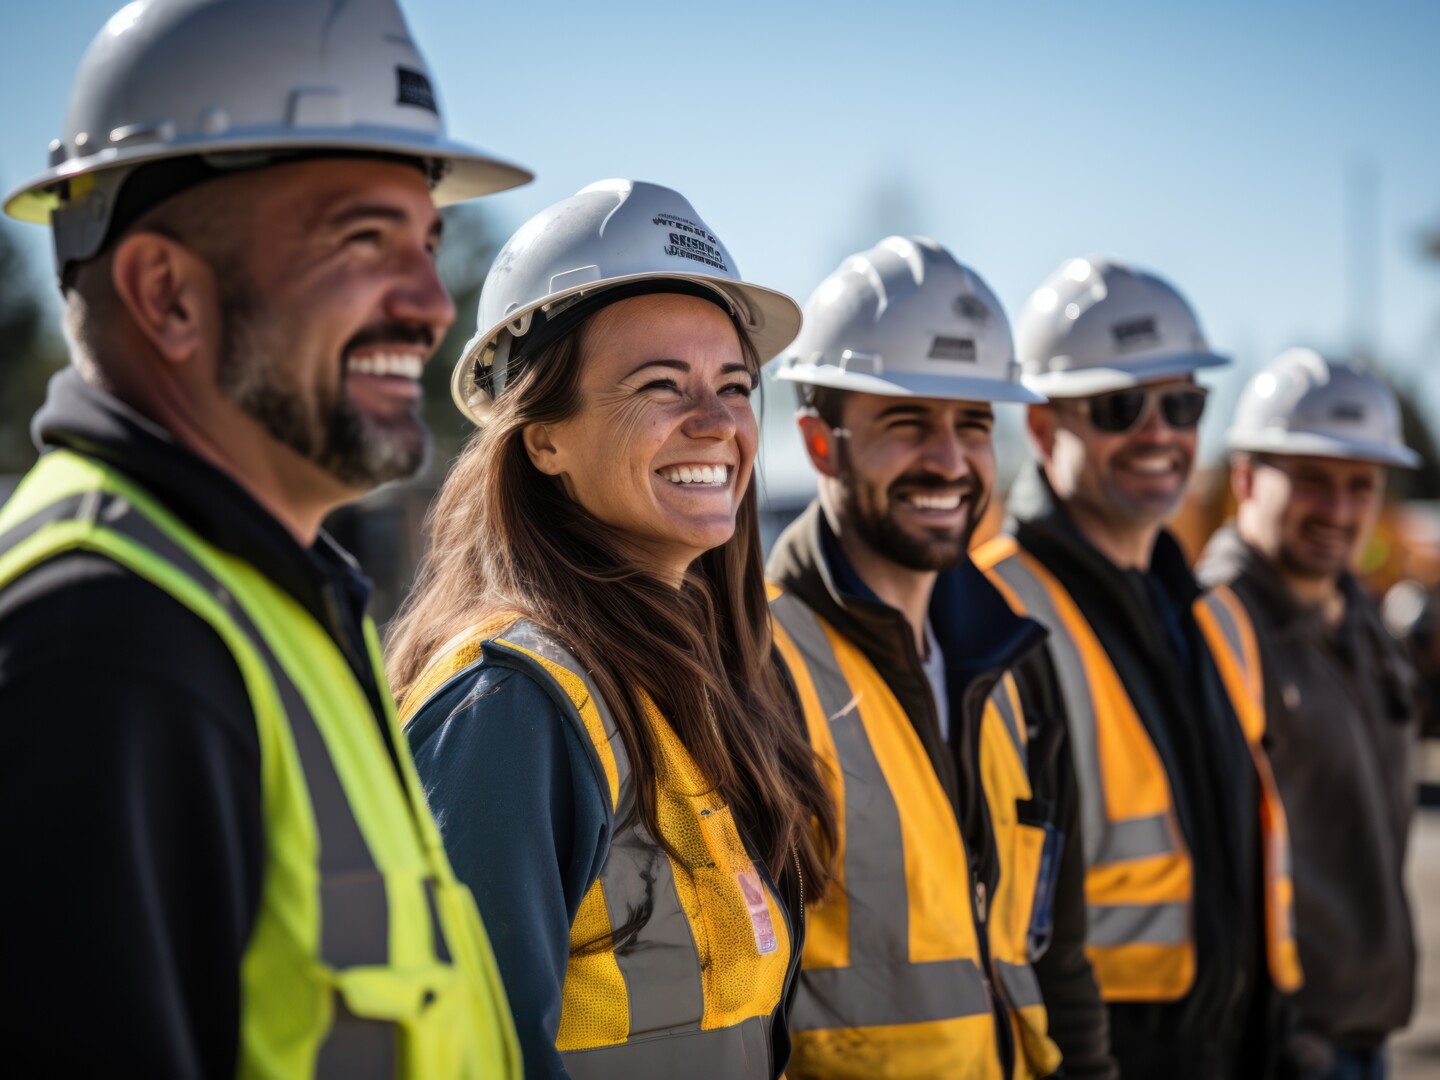
Risk assessment method statements (RAMS) are often requested by clients to show you take safe working seriously. They’re also a requirement of any health and safety accreditation process, such as SafeContractor.
RAMS are a combination of two documents – a risk assessment and a method statement. Together, they provide details of how you go about your safe system of work.
While a risk assessment is a simple process to demonstrate you’ve identified all of your workplace risks and taken appropriate action to mitigate them, a method statement goes one step further. It’s a simple way to convert your risk assessment findings and control measures into a safe working process.
How to create the perfect risk assessment method statements
To create the perfect RAMS, you first need to carry out a risk assessment. It’s something we instinctively do in our heads every day, but rarely put onto paper. It’s a straightforward process, but there are five important steps to follow to get it right.
Step 1 – Identify the hazards
Hazards include anything with the potential to cause injury or ill health, such as:
Remember, you only need to identify hazards that are likely to cause harm if left uncontrolled.
Take your time to ensure you’ve covered everything, it’s easy to miss something when assessing you own workplace.
To help ensure you haven’t missed anything, you should:
Step 2 – Who could get hurt?
Once you’ve identified the hazards, you need to think about who could get hurt, and how.
For example, if you’re working up a ladder you should consider:
It’s important to consider anyone who could get hurt – in particular, those who could be at greater risk of injury and need additional protection, such as those with less workplace experience or with an existing injury.
Step 3 – Minimise the risk
You now need to consider what control measures to put in place to minimise the risk of injury. While you can’t completely eliminate every risk, you can reduce the likelihood of an injury happening by introducing sensible precautions.
For example, if you have to work on a ladder, you should ensure it is:
Step 4 – Put it in writing
You now need to record this information, as it is a mandatory legal requirement for those with 5 or more employees.
The table below is a good example of how to do this.
| Risk assessment for drilling a hole in brickwork at 2m height | Date: | ||
| Hazards | Who could be harmed and how | Controls needed to reduce the risk | |
| Working at height using a lean-to ladder | Worker using the ladder could fall and cause serious personal injury | Inspect the ladder before use to ensure it’s suitable and free from defects Erect and secure the ladder |
|
| Others in the area may receive a head injury from falling objects | Work area to be cordoned off and signs posted | ||
If you don’t have the necessary controls in place prior to the activity commencing, you may also have to create an action plan that identifies any additional controls and who’s responsible for them.
Step 5 – Keep it current
Once a risk assessment has been completed, it needs reviewing and updating whenever you make any significant changes to aspects of your workplace, such as if you do your usual job but on a different site.
It’s why risk assessments and method statements must be completed for each specific job, and not just be seen as a “tick box” exercise.
Once you’ve done your risk assessment, you now need to complete your method statement. This is a simple step-by-step process on how you do a job using the control measures in your risk assessment.
As well as listing the site and contact details in the heading, you should also include details of:
A completed method statement should include any control measures for carrying out the task and all site-specific information – providing a safe system of work to keep you, your clients, and anybody else affected by the work safe.
In the case of our working at height example, it should look similar to this:
| Client & Site Details: | Site Contact Details: | ||
| J Bloggs & Sons 54 Any Street Any Town Postcode |
J Bloggs j.bloggs@jbloggs.com 01234567890 |
||
| Task | |||
| Drilling a hole | |||
| Operatives/competence | |||
| Two skilled tradespeople | |||
| Equipment | |||
| 11 rung (3m) aluminium single section ladder to EN131 professional standard De Walt 20v industrial cordless drill |
|||
| Materials to be stored | |||
| No materials to be stored | |||
| PPE required | |||
| Safety footwear, hard hat and FFP3 mask | |||
| Emergency Action | |||
| Follow site emergency procedures | |||
| Special Considerations | |||
| Follow COVID-19 secure arrangements, ensuring social distancing is maintained, regular cleaning of equipment and hand hygiene | |||
| Description of safe method of work | |||
| 1. Arrive on site and reverse park the van into a visitors’ space as per client request 2. Sign in at security and complete induction process 3. Unload equipment from the van and take to place of work 4. Inspect ladders and other equipment to ensure free from defects 5. Cordon off the work area and place signs indicating no unauthorised access 6. Erect the ladder at 75O angle and secure by colleague footing the ladder 7. Place cordless drill in the toolbelt and climb the ladder to a work position below the top three rungs 8. Carry out the drilling process, maintaining three points of contact throughout 9. Once job is complete, dismantle access equipment and return to van 10. Clean up work area removing any waste, and remove signs and cordon 11. Verify work complete with client, sign out and leave site. |
|||
| Final clearance: (work activity completed to satisfaction) | |||
| Name: | Position: | Date | |
1. Be thorough when carrying out your risk assessment, concentrating on each hazard and identifying practical ways to reduce risk.
2. Create a simple step-by-step process in your method statement that clearly sets out how you complete a specific job.
3. Ensure the level of detail provided in both documents is relevant to the level of risk. Simple low risk job = simple RAMS.
4. Make sure documents are task and site specific. Do not rely on generic assessments.
5. Involve the people carrying out the task when creating the documents.
A good risk assessment method statement helps you show your commitment to safety and industry best practice. But it can also help unlock new business from an increasing number of principal contractors who demand effective RAMS as standard.
This blog is only intended as a guide, so if there’s anything you’re unsure of, seek advice from a competent source.
Related Insights

![]()
© Alcumus Group Ltd 2024 All Rights Reserved Registered in England. Registered Office: Axys House, Heol Crochendy, Parc Nantgarw, Cardiff CF15 7TW. Company Reg No: 09793309